One would imagine that changing the colors of the built-in window title bar or at least painting your own custom one would be a pretty straightforward task. Sadly in Windows (more precisely Windows 10), it is not easy at all.
It took me a few tries and multiple full days of work to find a reasonable solution that is also up-to-date. Here's how it goes...
If you just want to see the full working example of a custom title bar window - it is available on GitHub. The code is valid C99 and C++98.
History and Terminology
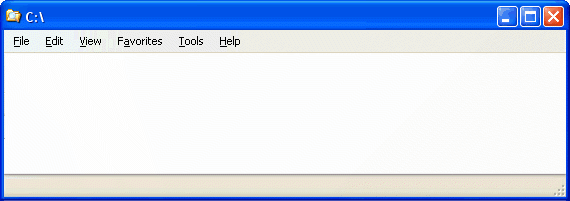
Back in the days of Windows NT/2000 application window frames were completely square by default, had no shadow, and looked like this:

Here's the trick though, the screenshot above is not from Windows 2000, but rather what was called "Classic Windows Theme" in Windows 7. This showcases something important that you need to keep in mind throughout the whole article - Windows almost never deletes stuff but rather adds layers on top of layers of new things.
With Windows XP, the style changed to have aliased (pixelated) rounded corners at the top of the window frame. I don't have access to the Windows source code, but there is probably a hard-coded mask somewhere deep in the system to remove those corner pixels. You will see why this matters in a bit.
From what I can tell up to and including Windows XP the painting was done in software, i.e. the CPU was processing all the pixels of the window. I also believe that the frame and the client area were painted into the same pixel buffer that would eventually be copied to the main screen buffer.
Windows Vista added smooth animation, transparency, and a soft shadow to the window frame which necessitated a switch to hardware-accelerated (GPU) compositing called DirectWindowManager (DWM) in Windows terminology. If your PC did not have a supported GPU, the painting was done like in Windows XP, but the styles were adjusted to closer match Vista.

This switch had some interesting implications. I guess that to make old applications work without changes with the new window look a check was added to see if the application was trying to draw on the window frame / title bar, together know as non-client area. Here's a picture to make this a bit more visual:
At this point I need to make a detour and explain that the way window painting (typically) works on Windows is through the OS sending a WM_PAINT message (event) to the window with the "dirty" area and asking it to redraw. This event is only concerned with the client area.
If you wanted to paint something into the non-client area in the older version of windows, you could overwrite WM_NCPAINT and do pretty much any kind of painting you wanted if you are careful enough.
From my understanding with the introduction of DWM painting inside WM_NCPAINT became practically impossible without introducing significant artifacts such as flickering even if you manage to do it. Also if you do not call the original system handler of this message even on Windows 10 you get this:

The system just falls back to the old rounded top corners style and the default Vista/Win7 theme. As I mentioned above, things never seem to disappear from Windows - they get buried in the catacombs below the new and shiny things.
At this point a different, but a more-or-less official way of painting in the window frame was introduced. You no longer needed to implement WM_NCPAINT, instead, you override WM_NCCALCSIZE to extend the client area to be the full window. Then make a special call to tell the system that it is OK to paint the frame inside the newly extended client area. You also need to adjust the areas where resizing cursor appears accordingly. The whole process is described in the official MSDN article.
All was good and well for a while.
I'm going to skip Windows 7 as it didn't change much in terms of rendering or style. Windows 8 introduced "Metro UI" and the problems we will see later, but because it never got wide adoption I'm going to pretend it never existed.
The Mess of Windows 10
So here we are - the frames of windows are square again, but we still have a nice soft shadow and transparency from the Vista days. There is one big difference though. There isn't really a window frame anymore. The 1px border you see around the window is not part of the client or non-client areas - it is part of the shadow drawn by the DWM compositor. In fact, I had to add the shadow myself to the screenshot below that I took with the built-in "Snipping Tool":
Removing the frame from the window leads to an interesting problem though. Previously the frame would where you get that resizing arrow cursor and could drag to resize. With the frame gone, what would be the area you can drag? You can't put it inside the window as it would overlap user content that might interactive, like a scrollbar at the edge of the window.
The way Microsoft "fixed" this issue is by actually keeping a non-client area around the window, but not painting any frame, i.e. leaving it transparent. This is why resizing cursor now appears "outside" the visual window, while in fact, it is part of the system window.
This fake frame only exists on three sides of the window - left, right and bottom. For the top, resizing area is inside the title bar. I guess the thinking was that since the title bar is controlled by the developers of Windows they could ensure that buttons remain usable. Here's a more visual (but oversized) representation of the areas:
What does this change mean for the implementation of a custom title bar? Well, the good news is that you do not need to call that DWM API to extend the frame into the client area as there is now no visible frame. In fact, if you do call DwmExtendFrameIntoClientArea you will end up with ugly white borders around the window.
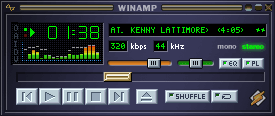
This gotcha originally sent me on a wrong path of trying to do something you could in the olden days - just ask the system to not render any frame border or the caption via flags during window creation. Then you would just reimplement things like dragging, resizing, and buttons yourself. It is a bit of a chore but nothing too difficult for an experienced programmer. Media players especially liked to do that - here's a screenshot from then-popular audio player WinAmp:
I was mid-way through the implementation of something like this when I noticed a couple of problems. First, the window no longer had an opening or closing animation. Secondly, window snapping with the mouse or shortcuts like Win + Left/Up/Right/Down did not work.
After copious amounts of googling and experimentation I found out that these things are implicitly controlled by the presence of the following flags during window creation:
WS_THICKFRAME- required for resizing;WS_SYSMENU- required for Win + Left/Right snapping support;WS_MAXIMIZEBOX- required for Win + Up and mouse top desktop edge snapping;WS_MINIMIZEBOX- required for Win + Down.
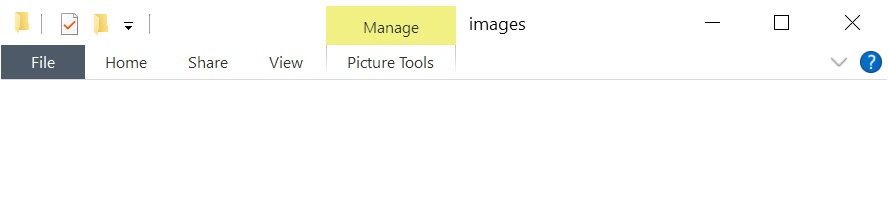
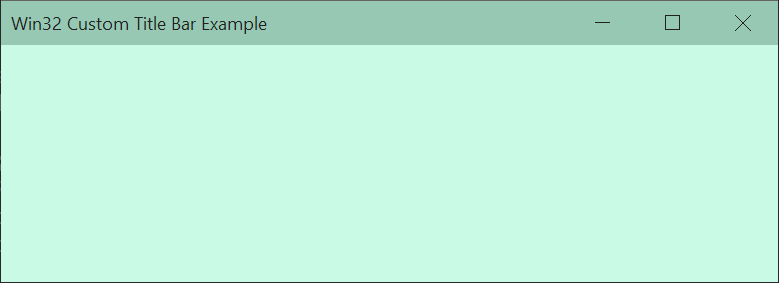
The problem is that with these flags present you get that system title bar back into your window. This is when I discovered that DwmExtendFrameIntoClientArea is no longer necessary and with it out of the way and some custom code to paint the title bar myself things were almost great:
One thing you probably notice is that the top "border" is missing. A more subtle thing is that the other three borders are now part of the window as they get captured in the screenshot. The latter does not really bother me but the missing "border" is a problem. I tried anything and everything I could think of to try to bring it back but no luck.
Since I knew I saw it working for some custom-themed applications I use like Google Chrome and IntelliJ I tried to look closer at how they do it. Turns out they fake it! Instead of rendering a semi-transparent line, they just darken the top pixel of the window.
Even Microsoft-developed Edge browser fakes this. It does show that there is probably no real solution if Microsoft's own engineers resort to hacks.
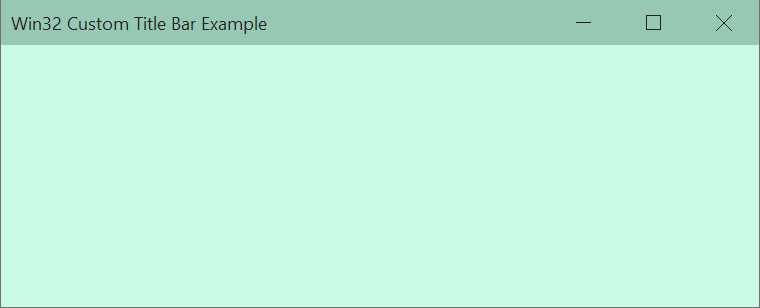
Well, if that's the game, I can play it too:
You might need to tweak the color slightly depending on your exact application style. The color also needs to change when the window is active vs inactive. It does look good enough to have fooled me until I did this deep dive myself.
I'm not including the actual painting code in this article as it depends on your drawing API. The working example on GitHub I mentioned at the start of the article has the code for old-school GDI drawing. In the real app, I'm using Direct2D, and it works great. I don't imagine there will be any problems with OpenGL either.
I hope this article and code saves you some time and agony if you try to implement a window with a custom title bar. I haven't yet looked into Windows 11, but I'm sure it will need some tweaking or maybe even a completely different solution...